DIY: A Tutorial on Putting an Elastic Waistband in Knitted Pants(or Shorts)
 My kids have all been super-chunks, and none of the patterns I'd found were friendly to extra junk in the trunk and thunder thighs, aside from sizing up several times over and attempting to do the math to size down other aspects to make them custom-proportional, and when anywhere from $20 to $70 in yard was in question, I wasn't happy with the enormous margin of error. To remedy the issue I created my Kumfy™ Pants pattern in 2008. It has short rows shaped and spaced unlike any I've seen in another pattern, making the whole back side of the longies rounded out evenly throughout to make room for more than just a cloth diaper, and since the LARGEST part of a baby's thighs starts before the crotch, a gusset that makes them a TRUE wide leg fit, as opposed to the "just pick up more stitches to the legs when you start them" I've seen in every other pattern. I also put SO many options in it for different styles, lengths, cuffs, ruffles, waistbands, etc. It was perfect for my babies then, has been perfect for all the babies I've had since, and I've had rave reviews since I finally published it in 2011.
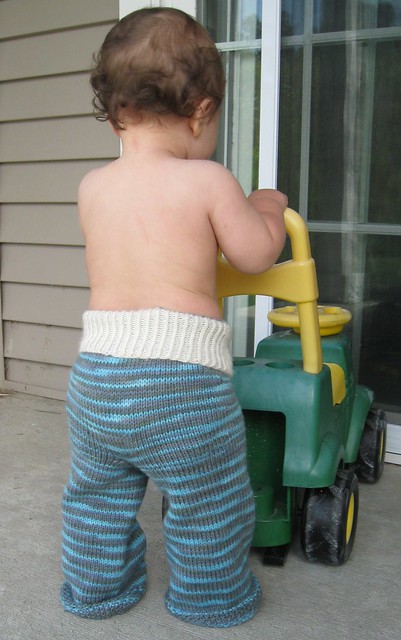
But every now and then I find new things to do with my comfy old shoe of a pattern, and this is one of them: an elastic waistband. My 10-month-old is a chronic drawstring-chewer which leads to pants around his ankles or else crawled out of and left behind altogether. I didn't have enough yarn in this colorway and trim to do the fold-over yoga waistband option in my pattern so I decided to do an elastic waistband. In my daily knit-along thread on a cloth diapering forum a couple of knitters asked how that was done if it wasn't in the pattern, so here it is! You can do this with any pattern, no matter what kind of ribbing it calls for.
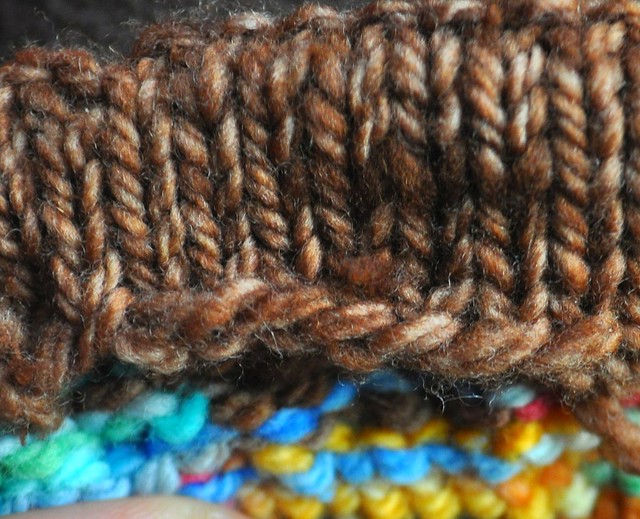 |
| Cast-on edge of the long-tail cast-on method |
So regardless of cast-on number, knit in the round all rows for one inch. Next, purl one row. This will be where the waistband folds in half. After the purled row, knit every row for another inch. Proceed as the pattern directs for the body of the garment.
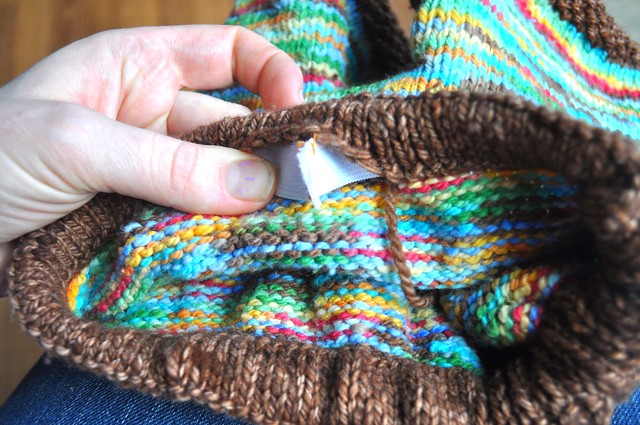
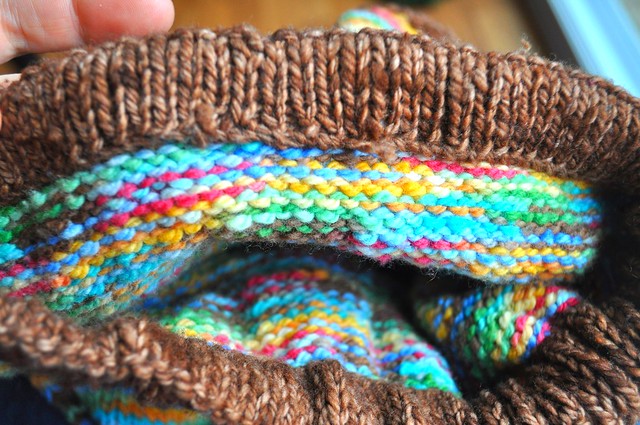
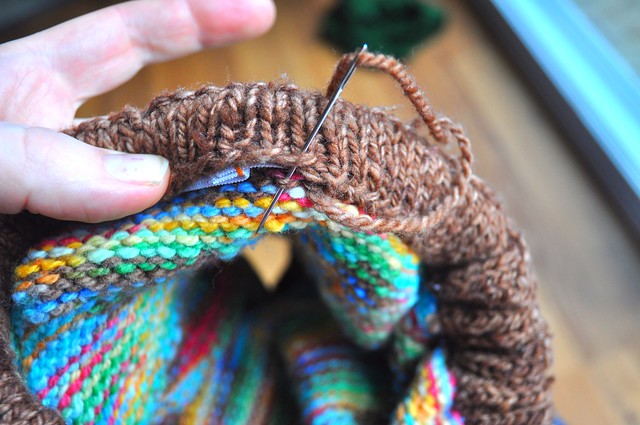 When you're ready to finish the waistband(you can do it a few rows into the body, or at ANY time during the body, or when you're finished), get your tapestry and a long piece(at least 1.5 times the waist measurement) of yarn matching your trim. Fold the waistband in half with the purled bumps at the top of the waistband. Push the tapestry needle down through the loops left behind by the cast-on method and the loop on the purl side that is the first row of the colorway(body portion). Pull the yarn tight, but leave a tail long enough to weave in at the end. Continue in this pattern, pulling each stitch gently snug until you have an opening 2-3 inches wide- just enough to thread your elastic through.
To figure out how long your elastic needs to be, measure the intended wearer's waist at the belly button, then subtract two inches and that is the length of elastic you want to cut. For example, my guy's belly around the belly button measured 21 inches, so my elastic was 19 inches long.
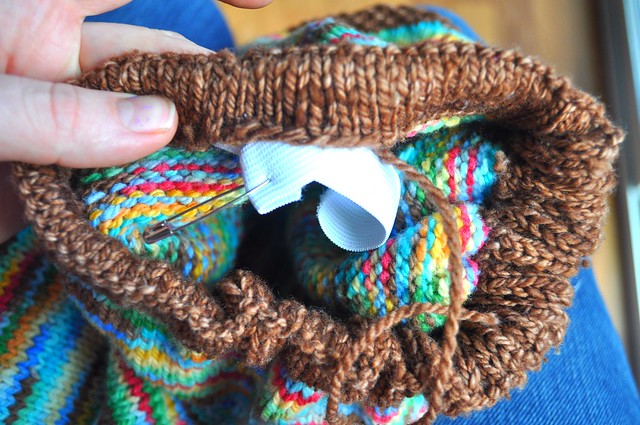
Sew the ends of the elastic together, either with a machine or by hand, going back and forth over the seam three or so times just to ensure it stays strong.
If your ends are sewn together properly and there are no twists in the elastic, the seam allowance(ends of the elastic band) will fold neatly over and lay flat against the band and tuck nicely into the casing so you can finish stitching the seam.
That's it! Easier than it seems, judging by all the confusion and questions I've seen on knitting and cloth-diapering forums. An added bonus of this method: Super easy to use a seam ripped to cut out those stitches and adjust the waistband should your baby turn into a toddler whose waist is trimming down like mine always do.

Love this colorway? ME TOO! It's called "Suessical Rainbow with brown" on Mountain Meadow Wool dyed by one of my all-time favorite yarn-dyers, Aimee of Eco-Wrapz. See her shop HERE and her Facebook page HERE.

Comments
Post a Comment