Garlic Kraut: Delicious Adventures in Lacto-Fermentation, Pt. 1
For several years after we were married, my husband and I with our growing family lived in a small city called Ithaca. There are SO many things that make Ithaca a unique city, unlike any other I've ever been to or heard of. One those things is the big farmer's market, filled to the brim(and a healthy waiting list besides) with local vendors of all kinds selling produce, natural-raised meats, a preservative-free butcher, cheeses, sheep hides and wool, hand-made clothing, and ethnic foods of all kinds. I could spend all day there. One particular vendor that was a favorite of ours sold garlic kraut. In short- sauer kraut with hefty garlic flavor. NOT your grandmama's sauer kraut.
Unfortunately we had to move two hours north after several years, though we drove down and visited friends, family, and favorite businesses in the area whenever we could. Since then I have researched plenty and never found an actual recipe for garlic kraut, but I did find PLENTY of info on lacto-fermentation, so I decided to wing it and try to make it myself.
Lacto-fermentation. It sounds so weird. A sweet friend saw the term on my Facebook page and asked, knowing what a lactivist I am, if it had anything to do with breastfeeding. LOVE IT! In short, lacto-fermentation is the process of preserving food using the healthy bacteria lactobacillus, and it is excellent for your health. Lactobacillus feeds on sugar and is really healthy for your guts, and we all know(or should) that a healthy gut is directly linked to the immune system and overall general health. YAY FOR HEALTHY GUTS!
So garlic kraut. It's very simple. SO simple, in fact, that it seems TOO simple. Like something must be missing and it deserves one of those, "You're doing it wrong," memes. Nope. Nice and easy and I like it that way. It's pretty much fool-proof.
Ingredients:
Unfortunately we had to move two hours north after several years, though we drove down and visited friends, family, and favorite businesses in the area whenever we could. Since then I have researched plenty and never found an actual recipe for garlic kraut, but I did find PLENTY of info on lacto-fermentation, so I decided to wing it and try to make it myself.
Lacto-fermentation. It sounds so weird. A sweet friend saw the term on my Facebook page and asked, knowing what a lactivist I am, if it had anything to do with breastfeeding. LOVE IT! In short, lacto-fermentation is the process of preserving food using the healthy bacteria lactobacillus, and it is excellent for your health. Lactobacillus feeds on sugar and is really healthy for your guts, and we all know(or should) that a healthy gut is directly linked to the immune system and overall general health. YAY FOR HEALTHY GUTS!
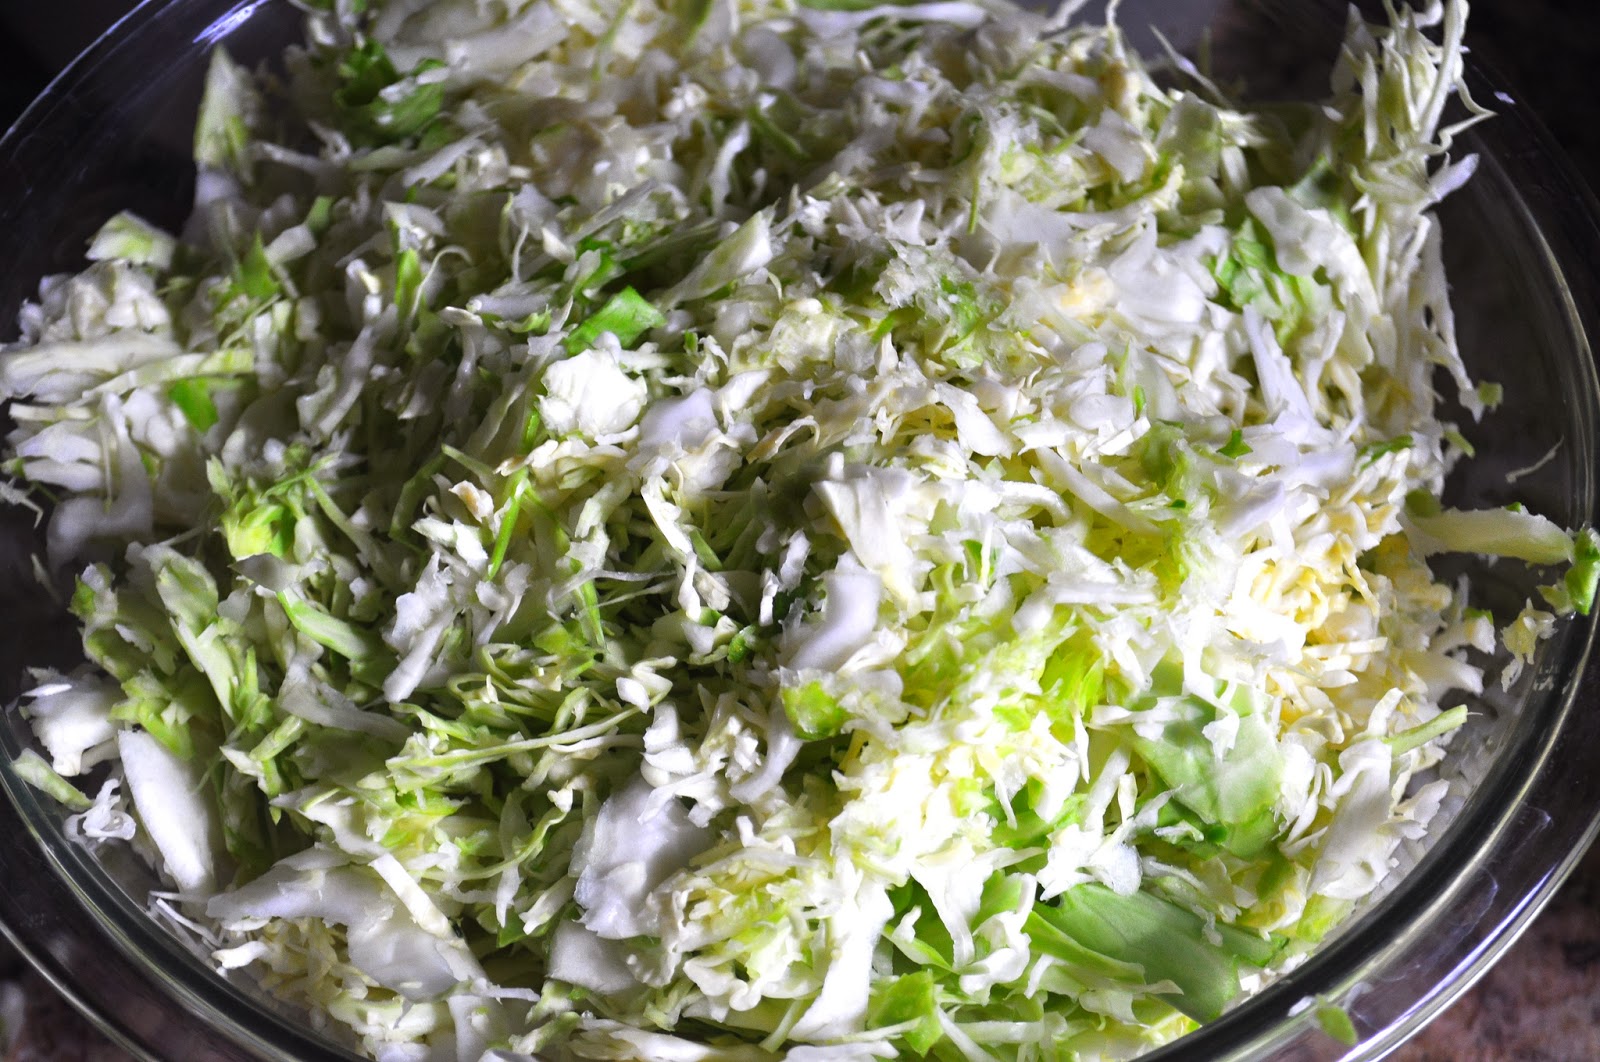 |
| Huge bowl o' shredded cabbage |
Ingredients:
- 1 large head of cabbage, shredded
- Sea salt, about 1/2 cup
- 1 head of garlic, cloves unwrapped and rough chopped
- water
 |
| Sea salt and rough-chopped garlic |
First I core the cabbage, cut it down into 1/16ths(small enough to be fed into my food processor), and send it through my trusty Black & Decker with the slicing disc on. VOILA! A nice shred in less time than it took to core the thing. Peel and chop the garlic down to small chunks. I usually use my gallon size glass jug, but it currently holds my homemade laundry detergent, so instead I have two half-gallon jugs to use.
Next you'll begin layering. To start I put a couple big handfuls of cabbage into the jug, followed by a big pinch(1-2 Tablespoons worth) of garlic, and sprinkle a layer of sea salt. Using the handle of a long spoon or a wooden spatula, go to town and beat the layer like you're churning old-fashioned butter, crushing it down to the bottom. Repeat the layering and pounding until your cabbage and garlic are gone. The pounded-down mixture should be 1-2 inches from the neck of the jug.
 |
| Half-way there |
When you add the salt and are pounding with the spoon your cabbage and garlic will start to release their natural juices, creating a bit of fluid in the bottom. Some cabbages will be juicier than other, and given my cabbages are being used in early March, they're not so juicy. For that reason, I added a salt solution (2 cups of water to one tablespoon of sea salt) until it just covered the top of the vegetables. Keeping everything submerged is important because we want to GOOD bacteria to grow, not bad stuff, and the liquid in the jug is ripe with good bacteria. Too much exposure to the air and theoretically mold could grow. We're going for lactobacillus here, not penicillin. When you are finished you'll notice some of the cabbage is free-floating at the top. DON'T PANIC! It's okay, really. It's still IN the solution, even if it's floating. What you don't want is the cabbage sticking up and out of the solution.
Lastly, set it in a warm, clean spot. I like the back corner of the counter in my L-shaped kitchen. It stays plenty warm enough and no little hands are going to get into it. I also like to cover mine with a paper towel to keep any bugs out while still allowing it plenty of access to oxygen for "burping." Granted there are no fruit flies out right now in the first week of March, but we do have kittens and the occasional wayward spider, so for good measure they're covered with a paper towel. A spoon laid across between the two will keep it from being blown off.
 |
| Jugs in waiting |
Now don't touch it for two weeks. Seriously- ten to fourteen days. You won't regret it.


Do you know how many pounds one of the heads of cabbage weigh? Sometimes we get some pretty big ones from up the lake at Oak Hill Farm.
ReplyDeleteNot sure. I don't get the huge ones because our family typically can't eat that much before it goes bad, but when making garlic kraut I just keep going until it's gone. If I run out of room in the jugs before the shredded cabbage is gone I just use it for something else that day or the next while it's still fresh. Since it takes a week or two for the kraut to be ready one or two meals of cabbage sides with the left-over fresh shredded cabbage won't make us "cabbaged-out" in the mean time. :-)
Delete